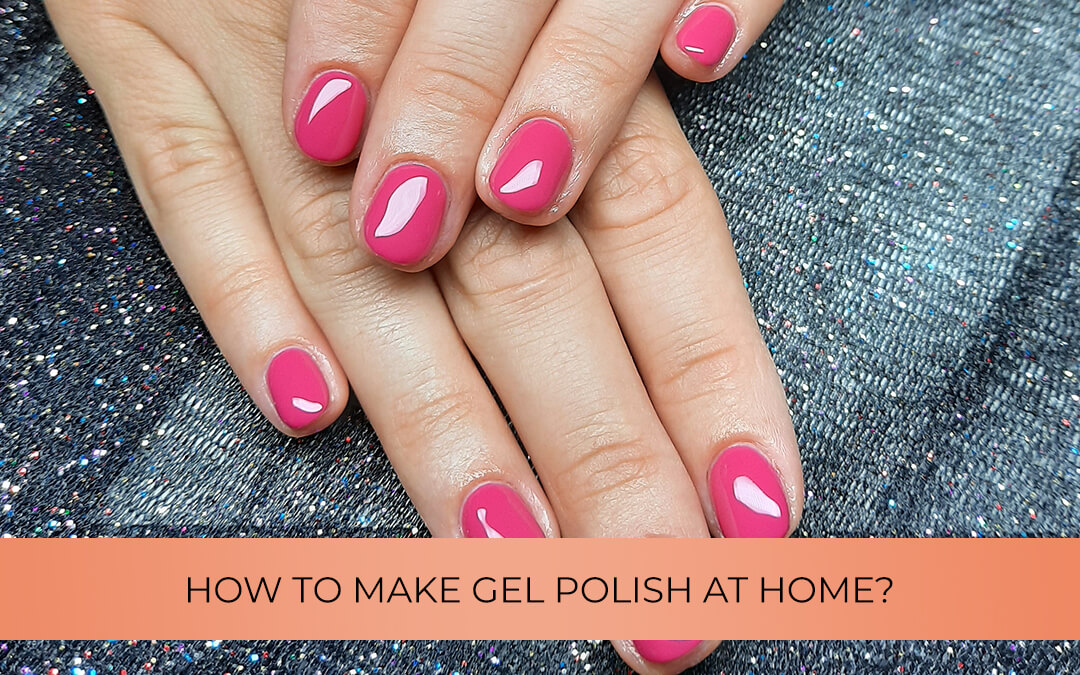
Gel nails at home the step by step tutorial by a professional nail specialist
Gel polish is one of the most popular lacquering techniques today, thanks to its simplicity, naturalness and durability, among other things. It may seem simple to prepare, but it does not hurt to prepare thoroughly, to know every step before starting to make gel polish at home. I’ll show you what to look out for: the course of gel polish.
How to make gel polish?
The first step is to get the tools you will need to do the gel polish at home.
What will you need to do your gel polish at home?

UV or LED lamp

orange tree stick

cuticle scissors, if it is needed

nail file

dusting brush

Nail Prep preparation fluid

Primer bond, a fluid which helps the adhesion

transparent base gel (Base gel)

colored gel polish
Top gel
gel fixing fluid, unless a non-fixing top coat was used
skin care oil
If all of this is at your disposal, you can make the perfect gel polish! 🙂

Making gel polish at home – step by step
01
Thorough cleaning
Before you start applying the new nail polish, clean your hands thoroughly. If you have had a polish on your nails before, remove it, wash it and then dry your hands.
02
Pressing back the cuticle
If you have to, cut the skin carefully. If it’s not necessary, you should only gently push it back up to the nail bed.
03
Preparing the nails
Gently file your nails with a soft nail file, just enough to give it a fluffy, matte finish, then dust your nails with the dusting brush. Be sure to dust off with a brush, as grease can get on your nails from your fingers, which prevents the gel polish from adhesion!
Apply the Nail Prep fluid to your nails, which will degrease and disinfect the nail surface. This can be followed by the Primer bond, which degreases the surface thereby promoting the adhesion of the gel polish.

04
Applying the base gel
Apply the base gel to your fingernails from your index finger to your little finger, then place your hand under UV or LED light for 2 minutes until the gel polish sits. Use a little polish at a time, as the excess can flow onto your skin making the surface of your nails uneven.
If your fingers are dry, apply the gel polish to your thumb nails as well, then place it under the light.
05
Applying the colored polish
For the perfect coverage, apply the gel polish in two coats like the base gel, then put your nails under the UV or LED light for 2-2,5 minutes. (With a LED light 1 minute of setting time may be sufficient)
If the polish has run off a bit, you can remove it with the stick used in the first step before setting.
If you need inspiration, you can find my previous works here:
06
Closing
Apply the clear top gel polish to the colored coats according to the techniques described earlier, and then set this under the light as well for 2-3 minutes.
Then you have two options:
- you can apply the gel-fixative to your nails with a damp cloth or a lint-free cloth,
- or you can use a fixation-free, releasable, high-gloss top coat that should be applied in a thin top layer to your nails and then place it under the light for 2-3 minutes.
07
Care of the cuticle
When the gel polish is done, apply a thin layer of nail care oil on your hands.
If you’ve followed these steps, you have the perfect at-home gel polish! If you prefer the help of a professional nail technician, book an appointment at my salon in Budapest!
The course of gel polish – Additional information
How long does a gel polish process take?
It depends on whether there is any nail polish on your nails before starting the process of gel polish. If you have traditional nail polish on, you can wash it off in a few minutes, removing gel nail polish or artificial nails takes a little longer.
Once you have cleaned your nails, you can finish the process of applying gel polish in about 20-25 minutes.
Gel polish decoration process
Today, there are a number of decoration techniques that we can apply perfectly to gel polish:
Powder: for example, glitter powder and mermaid powder can be used which are usually bound in the light gel. If necessary, we can apply an extra layer of light gel on top.
Stones: it is also worth to bound the stones into the light gel, or if you have a colorless hardener that sets for UV light at home, bound it into that.
Patterns: This requires some hand skills. 🙂 I recommend the zero decorative brush for thin line decoration and the dotting-brush, for dot decoration.
Nail sticker: I cut my selected sticker out and then soak it in the water. I apply it to the second layer and then set the light gel on top of it.
The process of the French manicure
French gel polish differs from plain, single-color nail polish only in that between the second layer of gel polish is (which is a natural nude color) and the light gel, comes a white, curved nail polish line – the French end 🙂