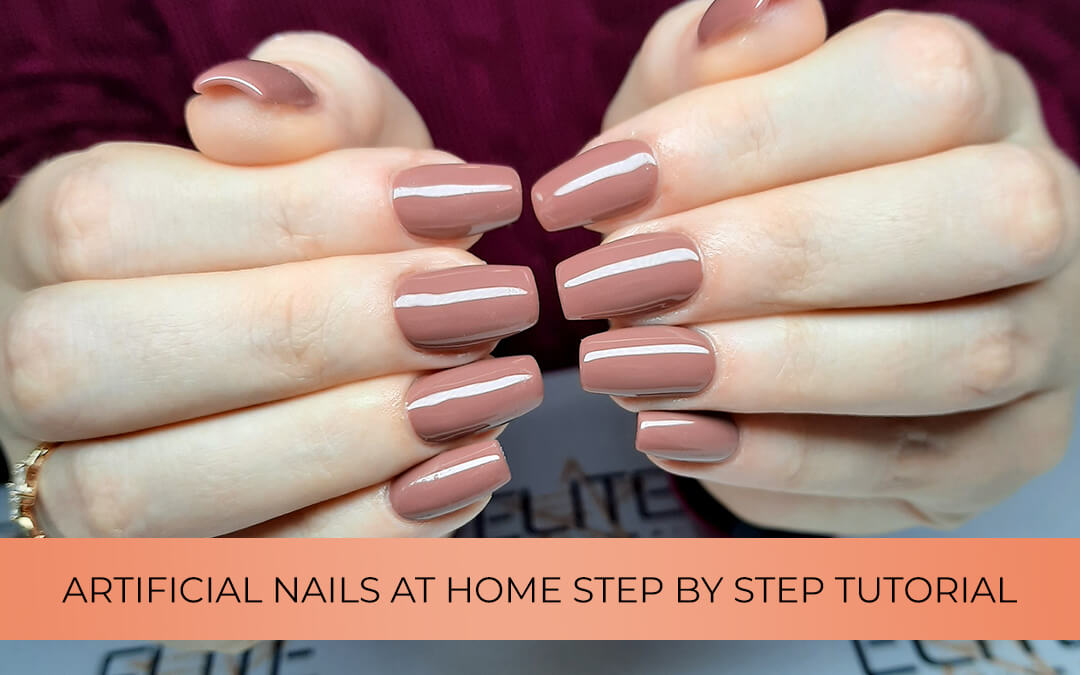
Artificial nails at home step by step
What to buy to prepare artificial nails at home?
To make artificial nails at home, you need different types of ingredients and tools. The better the quality of these, the more precise and easier it is to work with them.
To clean and prepare your nails, you will need the following:




Materials and tools for the building of the artificial nails:


For gel artificial nails:

Base gel to strengthen the artificial nail, with which you can increase its durability

Building gel (can be colored or colourless)

Cover gel that seals the artificial nail and forms a protective layer on its surface

Colored gel or gel polish
For acrylic artificial nails:

Building acrylic powder


Colored acrylic powder
Wondering how an artificial nail specialist works?
Check out my references and learn more about my artificial nails service in Budapest!
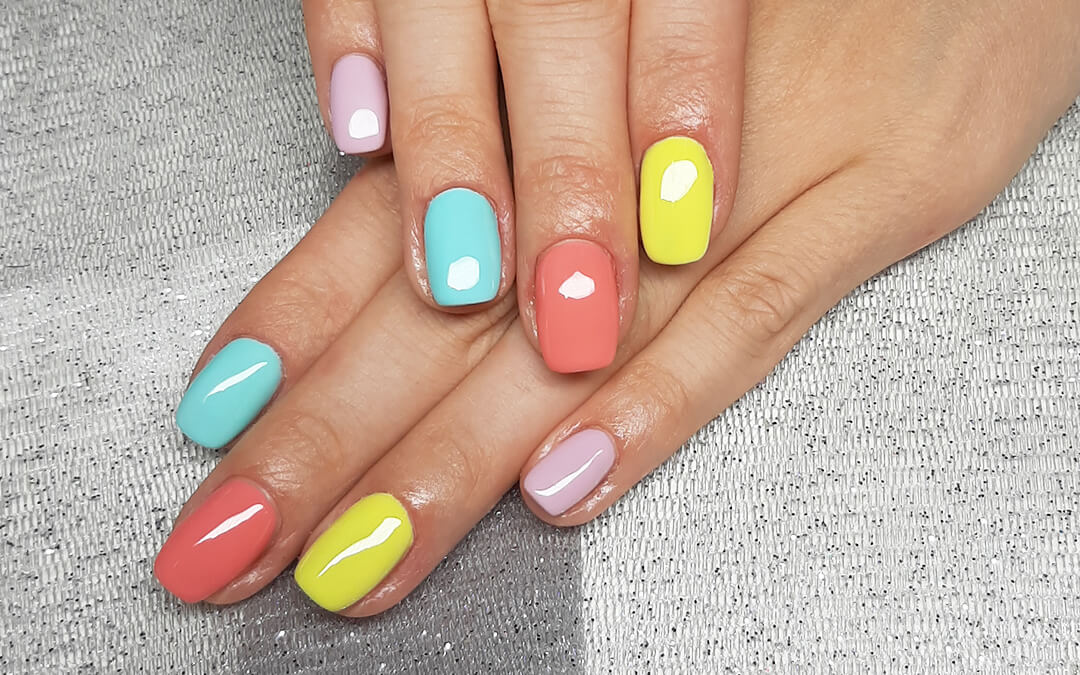
Artificial nails at home step by step
Preparation process
Whether it’s artificial nail building or gel polish, the first and one of the most important steps is to prepare your nails. This lays the foundation for the durability of artificial nails, affects the adhesion of materials to the nail plate and prevents damage to natural nails.
01 – Cleaning
If you have had a gel/polish on your nails before, remove it. As a next step, clean your nails thoroughly from any kind of contamination with the disinfectant fluid.
02 – Pushing back the cuticle
Prepare the cuticle by pushing back the skin with the cuticle. If it’s not necessary, do not cut the pushed back skin off!
03 – Filing
Gently file your nails with a soft nail file, just enough to give it a fluffy, matte finish, then dust your nails with the dusting brush.
04 – Degreasing
Apply the Nail Prep fluid to your nails in thin layers, which will degrease and disinfect the nail surface, helping the proper adhesion of the artificial nails. Be sure to dust off with a brush, as grease can get on your nails from your fingers, which prevents the artificial nails from adhesion!
Building
If you are building a gel artificial nail, the first construction step is to apply the template. Then apply the so-called base layer of a colorless building gel in a very thin layer, from which you form its shape and length, and then set it under a UV/Led lamp for 1-2 minutes. If this is done, carefully remove the template and file the base layer to shape perfectly. This is very important so that you do not use unnecessarily more material than you need, or that you do not have to file too much at the end when the next layer is applied. Then, from a colored or colorless building gel, (depending on what we want), which is already a thicker layer, we form the “C” arc. Then we use a non-fibrous wipe and fixative to fix the surface of the nail.
If you want acrylic artificial nails carefully dip the brush into the liquid, then take a not too large but not too soft scoop (depending on the size of the nail plate) and of the building porcelain powder on a brush and apply it to the nail and the template needed for construction. Spread the material on the surface of the nail with smooth and flattening movements and shape it using the template. Meanwhile, a dry paper towel should be prepared on your table in which you can continuously wipe your brush while shaping. As your material will solidify as you continuously remove the liquid from your material on your nails with your brush and soak it on the paper towel. This should be repeated until the desired shape and length is achieved.
Moulding
After setting and drying, file the nails into shape, paying special attention to the formation of the “C” curve and align the edges. Finally polish the surface with a buffer.
Decoration
Fixation
Skin and nail bed care
Do you would entrust your nails to a professional nail technician,
who builds artificial nails with quality ingredients?
Book an appointment online at Elite Nails in Budapest!
